Mastering Clay Techniques for Craft Projects A Complete Guide

Unleashing Creativity Through Clay
Crafting with clay opens up a world of creativity, allowing individuals to express themselves through unique and tactile art forms. Whether you are a beginner or an experienced artisan, mastering clay techniques can enhance your craft projects and elevate your artistic skills. The tactile nature of clay not only provides a hands-on experience but also brings a meditative quality to the creative process, encouraging mindfulness and focus.
This comprehensive guide will explore the essential techniques, tools, and tips that every clay enthusiast should know. Discover how these elements can transform ordinary ideas into extraordinary creations. With a variety of styles and methods available, there is something in clay crafting for everyone, regardless of experience level.
Types of Clay
Understanding the different types of clay available is fundamental in choosing the right material for your project. Among the most popular options are:
- Air-Dry Clay: A versatile option that dries without the need for a kiln, making it ideal for home projects. It retains a lightweight finish, perfect for delicate crafts.
- Polymer Clay: Known for its vibrant colors and flexibility, polymer clay can be baked in a household oven and is widely used for creating intricate jewelry and miniature figures.
- Natural Clay: Often used in pottery, this type requires firing in a kiln and can achieve stunning finishes. It is favored by traditional ceramicists for its durability.
Basic Sculpting Techniques
Once you have chosen your clay, mastering basic sculpting techniques can significantly enhance your crafting experience. Key methods include:
- Coiling: This technique involves rolling clay into long strands and layering them to build forms, such as bowls or vases, offering a unique texture and aesthetic.
- Pinching: A fundamental method for shaping clay by pinching it between fingers, ideal for creating small pots and organic shapes that showcase personal style.
- Slab Building: Using flat pieces of clay, this technique allows you to construct more geometric shapes and larger forms, such as tiles and larger sculptures.
Finishing Touches
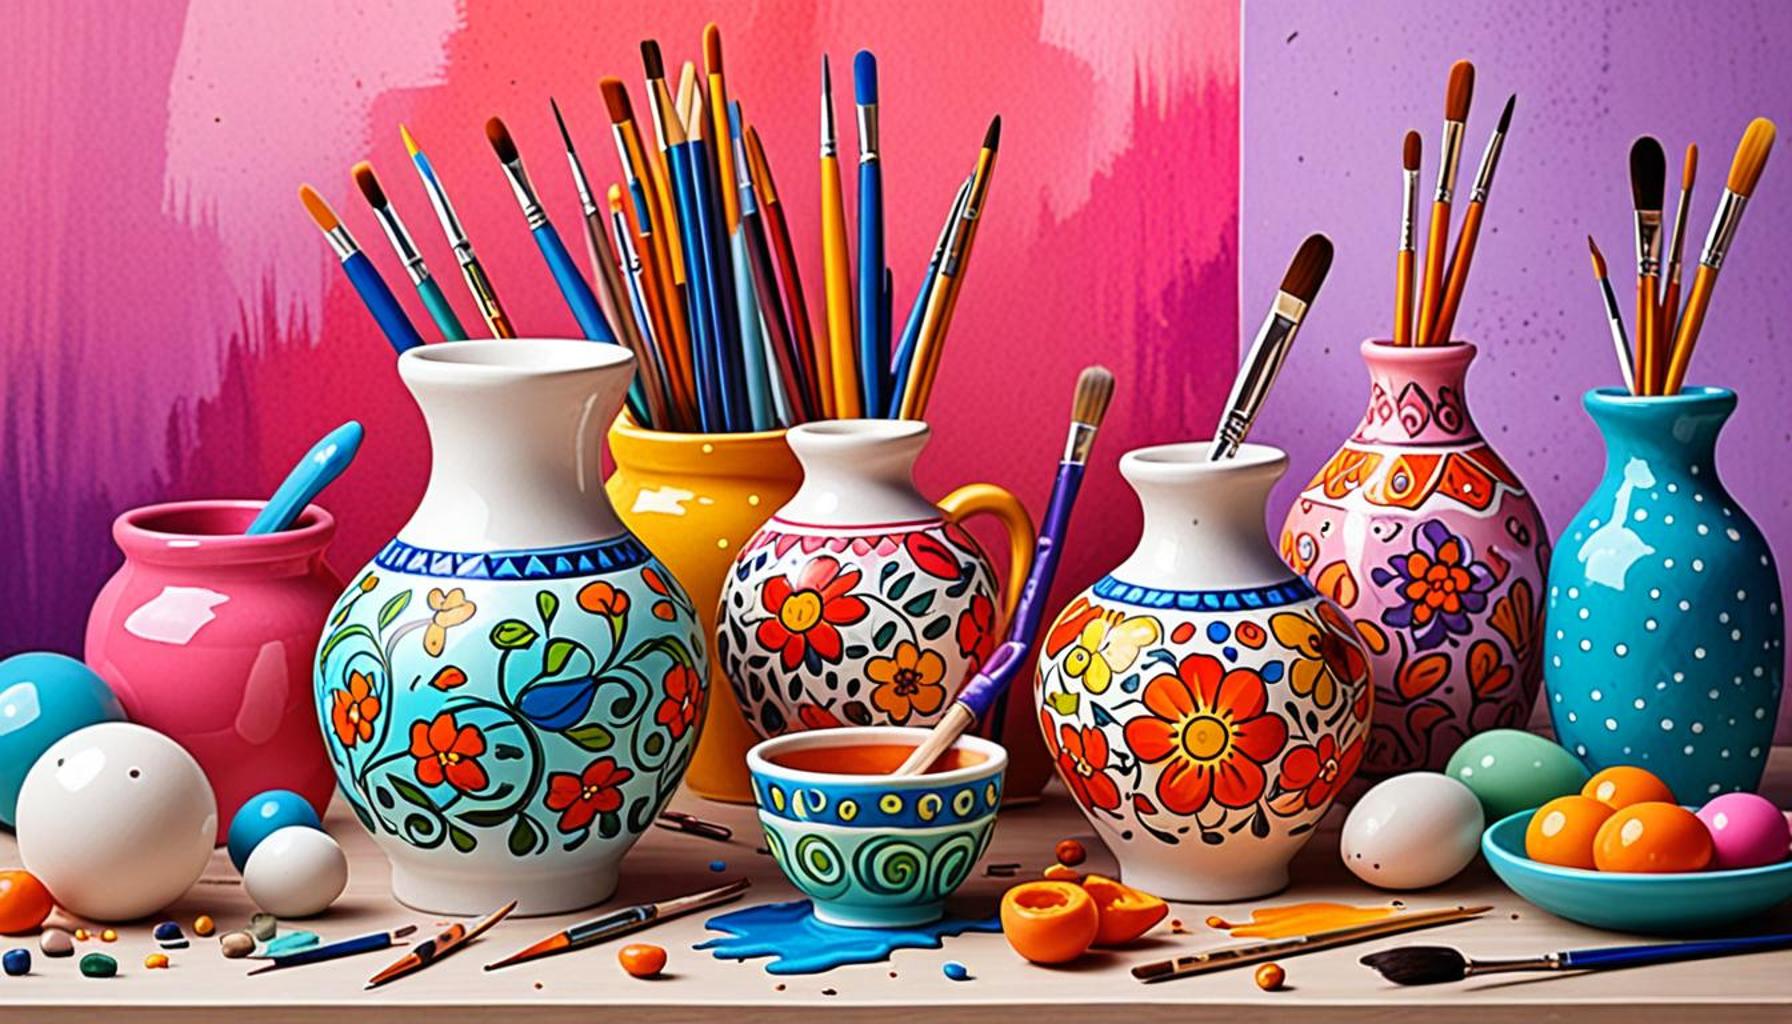
Bringing your clay creations to life often involves finishing touches, mainly through glazing and painting techniques. Glazing adds a glossy finish and can incorporate beautiful colors and textures, while paint can be used for more intricate designs or to achieve specific styles, such as realism or abstract art.
As you delve deeper into the world of clay crafting, you will uncover inspiring projects and tips for overcoming challenges. From creating small gifts for friends and family to unique home decor pieces, the possibilities with clay are nearly limitless. This guide aims to inspire your creative journey and provide you with the foundational skills needed to thrive in the craft.
Join us as we guide you through mastering these fascinating clay techniques that will elevate your crafting experience. Unleash your creativity and turn your artistic visions into reality with the knowledge and skills shared in this complete guide!
SEE ALSO: Click here to read another article
Choosing the Right Tools for Clay Mastery
As you embark on your clay crafting journey, selecting the appropriate tools is essential for achieving stunning results. The right set of tools can significantly influence your creativity, precision, and overall enjoyment of the craft. Here’s a comprehensive list of must-have tools for working with clay that can help elevate your projects:
- Clay Knife: A specialized blade used for cutting and shaping clay, allowing for clean edges and intricate details.
- Rolling Pin: Essential for flattening your clay evenly, a good rolling pin can help you create uniform slabs for slab building or preparing coiled sections.
- Wire Cutter: This tool is perfect for slicing through clay blocks, especially helpful when working with larger pieces or for cutting excess material away.
- Sculpting Tools: Often made of wood or metal, these tools come in various shapes and sizes to help create texture, smooth surfaces, and add intricate details.
- Sponges and Rags: Necessary for keeping your hands and work surface clean, as well as for refining the surface of your clay pieces.
Handbuilding vs. Wheel Throwing
Once you have your tools set up, the next step is exploring different methods of creating with clay. Two of the most common techniques are handbuilding and wheel throwing. Each approach has its own appeals and can drastically change the outcome of your project.
Handbuilding is an accessible option for beginners and seasoned crafters alike. It enables you to construct pieces without the need for a potter’s wheel. Common handbuilding techniques include:
- Pinching: Shaping clay using your fingers to create organic, freeform shapes.
- Coiling: Building with rolled-out strips of clay, allowing for artistic freedom in form and texture.
- Slab Construction: Using flattened slabs of clay to build projects ranging from tiles to geometric forms.
In contrast, wheel throwing involves the use of a potter’s wheel to create round and symmetrical forms. This technique is often favored for making functional pottery, like bowls and mugs. Mastering wheel throwing requires practice, but it opens a world of possibilities for creating more uniform and refined works.
Understanding Clay Condition
The state of your clay can significantly impact your crafting success. Clay typically comes in various conditions, such as wet, leather-hard, and bone-dry. Knowing when to work with clay at each stage can help you achieve better results:
- Wet Clay: Perfect for shaping and joining pieces, as it is pliable and easy to manipulate.
- Leather-Hard Clay: Ideal for carving and adding details, this state allows for easier handling while maintaining enough moisture for secure joining.
- Bone-Dry Clay: Clay that has completely dried out, which is ideal for firing but requires caution as it becomes fragile.
Mastering these foundational elements of clay crafting will not only enrich your creative experience but also give you the confidence to experiment with more advanced techniques. With a solid understanding of tools, techniques, and material properties, you are well on your way to producing captivating clay art. In the next sections, we will propose exciting project ideas and further tips to help you unleash your creativity on the clay canvas!
| Advantages | Details |
|---|---|
| Accessibility of Materials | Most crafting projects utilizing clay require simple, affordable materials that can be easily found at local stores or online, making it financially accessible to hobbyists. |
| Creative Expression | Working with clay provides unlimited opportunities for creativity, allowing crafters to develop unique pieces that reflect their personal style and artistic vision. |
The world of **crafting** with clay is vibrant and rich, offering enthusiasts a chance to explore various techniques that can transform simple ideas into stunning art pieces. Mastering clay techniques not only enhances one’s skillset but also encourages a deep **appreciation for the art of crafting**. As you embark on your craft journey, the accessibility of materials will enable you to start without breaking the bank, while the possibilities for creativity are boundless, ensuring that each project is a canvas waiting for your touch. Explore more about these techniques in our complete guide to maximize your crafting potential!
SEE ALSO: Click here to read another article
Exploring Clay Types and Their Unique Attributes
Understanding the different types of clay is crucial for anyone looking to master clay techniques for craft projects. Each clay type has its own unique attributes, which can significantly affect your artistic expression and the technical outcomes of your creations. Here’s a breakdown of popular clay types and their applications:
- Earthenware: This type of clay is typically low-fire and is known for its vibrant colors and porous nature. It is best for decorative pieces rather than functional ware, as it often requires glazing to become waterproof. Artists often enjoy using earthenware for its versatility in handbuilding projects.
- Stoneware: A mid to high-fire clay that is durable and less porous, stoneware is ideal for both functional and decorative pieces. Its ability to withstand higher temperatures makes it suitable for oven- and microwave-safe pottery. Stoneware’s robust nature allows for more intricate designs and finer details compared to earthenware.
- Porcelain: Known for its white color and translucent quality when thin, porcelain is a favorite among potters seeking to create delicate and refined pieces. However, it is more challenging to work with due to its lower plasticity. It typically requires high firing, which means it can become more expensive to use but it rewards artists with stunning results.
- Polymer Clay: Unlike natural clay, polymer clay is a synthetic material that remains pliable until cured in an oven. This type of clay is favored for detailed sculpting and jewelry making, given its vibrant colors and ability to maintain its shape post-baking.
Glazing Techniques for Enriching Your Clay Creations
Once you’ve crafted your pieces, the next exciting stage is glazing. Glazing involves applying a glass-like surface to your clay that enhances your artwork’s aesthetic appeal while also providing protection. Different glazing techniques can yield a multitude of effects:
- Dip Glazing: A common technique where you dip your pottery piece into a glaze bucket. This method is efficient for coating larger pieces. However, careful measurement is necessary to prevent drips and uneven coverage.
- Pouring: Similar to dip glazing, pouring allows for a controlled application. You pour glaze over a piece while it is tilted, creating drips and pooling effects.
- Brushing: Ideal for adding intricate designs, brushing allows for precision and creativity. Artists often utilize multiple colors and layering techniques to achieve stunning patterns.
- Sgraffito: This method incorporates carving into a colored layer of clay or glaze to create beautiful designs. By removing the top layer, the contrasting color beneath emerges, adding depth to the artwork.
Firing Your Clay Projects: Methods and Tips
Firing is the final and essential step in the clay crafting process. This stage transforms your clay into a permanent and durable product. There are two primary firing methods:
- Bisque Firing: The first firing stage, bisque firing, prepares your clay for glazing by removing additional moisture and organic materials. This results in a porous ceramic body that can absorb glazes effectively.
- Glaze Firing: Following the application of glaze, the second firing—glaze firing—takes place. This process vitrifies the clay and glaze, creating a glass-like finish. It’s crucial to select the right temperature range for firing based on the clay type, as it can significantly impact the outcome.
Understanding the attributes of different clay types, mastering glazing techniques, and familiarizing yourself with firing methods will enhance your ability to create diverse and eye-catching projects. With this knowledge, you’re well on your way to exploring the expansive and rewarding world of clay crafting!
SEE ALSO: Click here to read another article
Conclusion: Embracing the Art of Clay Crafting
Mastering clay techniques opens a world of creativity and self-expression for artists of all levels. From understanding the distinct characteristics of earthenware, stoneware, porcelain, and polymer clay, to exploring various glazing techniques and firing methods, each step in the process offers exciting opportunities to innovate and enhance your craft projects. With the right knowledge and practices, even the most novice of crafters can transform raw clay into stunning artworks that reflect their individuality.
The versatility of clay encourages experimentation—whether you are creating functional pottery or decorative masterpieces, each piece serves as a unique canvas for your artistic vision. The art of glazing not only beautifies your creations but also protects them, showcasing the myriad possibilities when combining colors and textures. Moreover, the significance of firing techniques cannot be overstated; mastering the firing process is crucial for ensuring the durability and finish of your work.
As you embark on your journey to master clay crafting, remember that patience and practice are key. Every masterpiece begins with a single ball of clay, and it is through continuous exploration and learning that you will refine your skills and ultimately develop your style. So, gather your tools, unleash your creativity, and dive into the fascinating world of clay arts. Your next craft project could be the beginning of an exciting artistic adventure!