How to Use Resin in Decorative Craft Projects A Complete Guide
The Allure of Resin in Creative Projects
Resin crafting has gained immense popularity in the DIY community, as enthusiasts discover its ability to transform ordinary materials into breathtaking works of art. With characteristics that enable the creation of unique, durable, and visually striking pieces, resin opens up a world of possibilities for artistic expression that appeals to crafters of all levels.
One of the most compelling features of resin is its versatility. When poured into molds, it can take on a variety of shapes and finishes, from high-gloss surfaces that mimic glass to matte textures for a more subdued look. Colorants, glitters, and even botanical elements can be added to resin, allowing crafters to create bespoke items that reflect their personal style or commemorate important moments in their lives, such as encapsulating a pet’s fur or a bouquet from a wedding.
This guide will explore:
- Basic materials and tools needed
- Step-by-step techniques
- Common mistakes to avoid
- Inspiration for current trends
Before diving into your first project, it’s essential to gather the right materials and tools. Common supplies include two-part epoxy resin, silicone molds, mixing cups, and a heat gun for removing bubbles. Safety gear, such as gloves and a mask, is also crucial, as some resins can release harmful fumes during the curing process.
Next, mastering step-by-step techniques can significantly impact the quality of your projects. Begin by carefully measuring your resin and hardener according to the manufacturer’s instructions to ensure proper curing. Pouring in multiple, thin layers rather than one thick layer can help prevent air bubbles and improperly cured spots. Allowing each layer to cure fully before adding more materials not only improves adhesion but also creates a richer visual depth.
However, it’s not uncommon for novice crafters to make mistakes. Recognizing common pitfalls, such as miscalculating resin ratios or failing to adequately prepare your mold, can lead to smoother crafting experiences. Learning from these missteps can enhance both your skill set and the enjoyment of the crafting process.
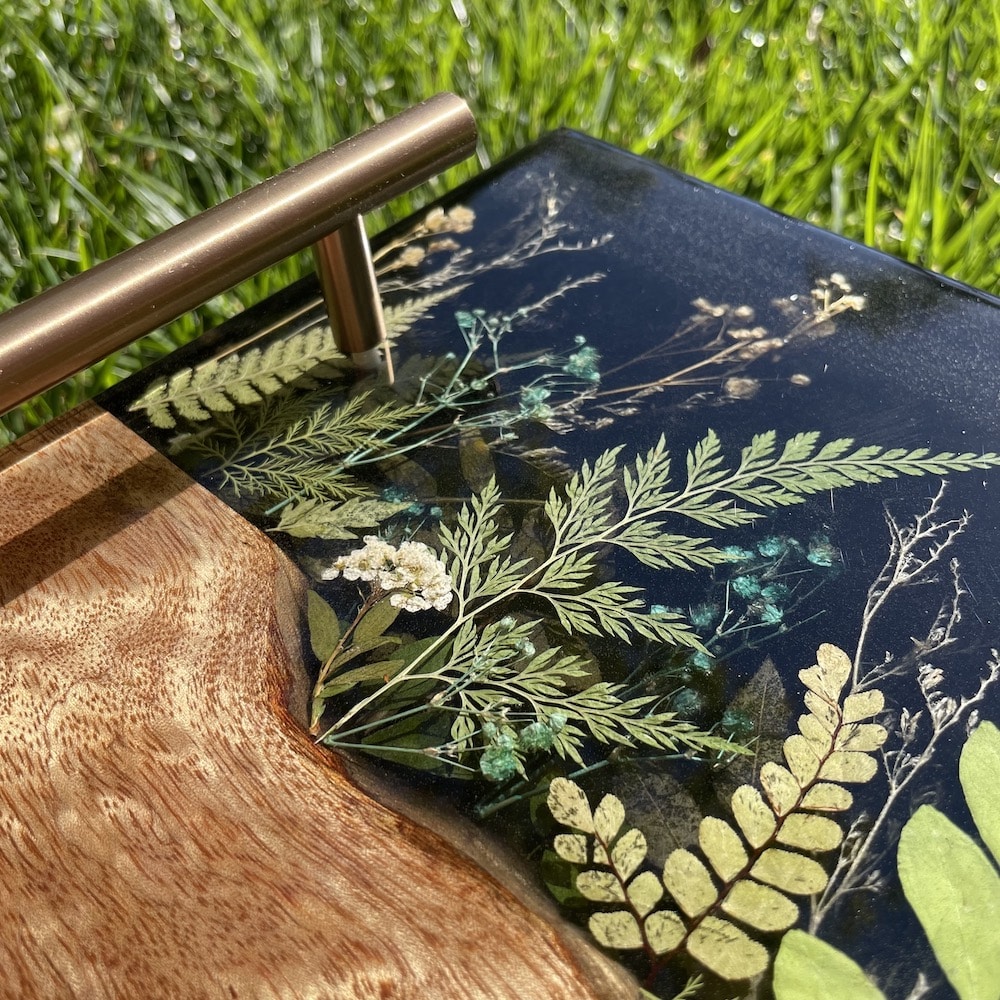
In terms of aesthetics, current trends in resin crafting indicate a move towards incorporating more natural elements and earthy tones, appealing to the growing desire for sustainability in crafting. Items like artisanal coasters embedded with dried flowers and large resin river tables are capturing interest and are excellent conversation starters.
Ultimately, understanding the nuances of resin can elevate your projects, allowing you to create not just decorative items but meaningful keepsakes as well. The journey into resin crafting is an exciting one, encouraging individuals to unleash their creativity and explore new techniques. With this comprehensive guide, you’ll be equipped with the knowledge to produce beautiful, lasting treasures while also tapping into a community rich in inspiration and innovation.
SEE ALSO: Click here to read another article
Getting Started with Resin: Essential Materials and Tools
Before embarking on your resin crafting journey, acquiring the appropriate materials and tools is paramount to ensure a successful outcome. Understanding these core components will not only streamline your projects but also enhance your overall experience.
The primary ingredient in resin crafts is two-part epoxy resin, which consists of a resin and a hardener that must be mixed together before use. When these two components are combined, a chemical reaction occurs, allowing the mixture to cure into a solid and clear finish. It’s essential to purchase high-quality epoxy resin that is suitable for your specific project; many brands offer different formulations tailored for various applications, whether it’s jewelry making, art pieces, or furniture coatings.
In addition to epoxy resin, here are other important supplies you will need:
- Silicone molds: These are available in a range of shapes and sizes, which makes them perfect for creating anything from coasters to keychains.
- Mixing cups: Use graduated mixing cups to accurately measure the resin and hardener. These cups often come with measurement lines for easy usage.
- Stirrers: Wooden sticks or plastic spatulas are ideal for mixing the resin thoroughly, ensuring an even consistency and thorough incorporation of the hardener.
- Heat gun: A heat gun effectively removes air bubbles that may form during mixing and pouring, allowing for a flawless finish.
- Protective gear: Safety is crucial; wear gloves, a mask, and goggles to shield yourself from potential irritants and fumes released during the curing process.
Once you have assembled these materials, you’re ready to advance to the hands-on techniques essential for crafting with resin. Proper preparation is key; ensure your workspace is clean and well-ventilated, as dust or contaminants can ruin the clarity and quality of your finished piece. Cover your work surface with plastic or paper to protect it from any spills, which can be especially tricky to clean up once the resin has cured.
Many resin crafters find that organizing their materials before beginning the project can significantly improve their workflow. By laying out tools and ingredients in an easily accessible manner, you can focus more on your creativity and less on searching for supplies mid-project.
As you dive into resin pouring, it’s crucial to follow the manufacturer’s instructions regarding mixing ratios and curing times. Each resin may have slightly different requirements depending on the formulas used, and adhering to these guidelines will result in optimal strength and clarity. A common mistake is to underestimate the curing time; rushing this process can lead to disappointment with the results. Allow yourself and your resin project adequate time to set, typically ranging from 24 to 72 hours, depending on the thickness of your pour.
By understanding the foundational aspects of resin crafting, you’ll set yourself up for success in creating stunning decorative pieces. With the right materials and a bit of practice, you can transform your imaginative concepts into tangible creations that will impress both yourself and any onlookers.
Essential Tools and Materials for Resin Crafting
To embark on your resin crafting journey, it’s vital to gather the right tools and materials. Understanding their functions will enhance your experience and ensure successful outcomes. Here’s a rundown of the essentials:
| Tool/Material | Description |
|---|---|
| Epoxy Resin | A two-part mixture that creates a strong, durable finish ideal for craft projects. |
| Mixing Cups | Clear or graduated cups that allow precise measurement of resin and hardener. |
| Stir Sticks | Used to thoroughly mix resin and hardener for proper curing. |
| Silicone Molds | Flexibility allows for easy demolding and creates intricate shapes. |
| Protective Gear | Safety goggles, gloves, and masks to ensure safe handling of materials. |
By being equipped with these key materials and tools, you will be ready to dive into the exciting world of resin crafts. Each component plays a significant role in achieving the best results, ensuring you create stunning decorative pieces. Remember, preparation is just as important as creativity when it comes to crafting!
Safety Precautions to Consider
Safety should always be a priority in your crafting endeavors. Here are some essential precautions to observe:
- Always work in a well-ventilated area to minimize inhalation of fumes.
- Wear personal protective equipment, including gloves and goggles.
- Follow all manufacturer instructions for the resin and hardener to avoid accidents.
Taking these precautions will ensure a safer crafting experience, allowing you to focus on creating beautiful art pieces with resin.
SEE ALSO: Click here to read another article
Mastering Resin Techniques: Tips and Tricks for Stunning Results
Once you have the foundational materials and tools ready, it’s time to delve into the techniques that will help elevate your resin craft projects. The beauty of resin lies not only in its versatility but also in the myriad ways it can be manipulated to achieve breathtaking effects. Below are some essential techniques and tips to enhance your resin crafting skills.
1. Color Addition: One of the most exciting aspects of working with resin is the ability to introduce color. You can utilize dyes, pigments, or even glitters to create unique patterns and finishes. Make sure to choose products specifically designed for epoxy resin to ensure that they mix well and don’t compromise the integrity of the final product. Popular choices include mica powders, alcohol inks, and liquid dyes. Experiment with layering different colors to achieve stunning depth and dimension.
2. Incorporating Embellishments: Adding natural materials such as flowers, leaves, seashells, or even glitter not only enhances the aesthetics but also adds a personal touch to your creations. Ensure that any embellishments are clean and dry; wet items can introduce unwanted moisture into the resin, leading to cloudiness or improper curing. For large objects, pre-placing them in the mold may create fascinating encapsulated designs.
3. Layering Techniques: To create multi-dimensional pieces, consider using layering techniques. Pour a thin layer of resin, allow it to cure partially, and then pour another color or another layer on top. This method allows for intricate designs, such as encapsulating objects at varying depths. Be cautious about the curing times, as some resins can become tacky if a layer is applied too early.
4. Addressing Air Bubbles: Air bubbles are a common challenge in resin crafts. To minimize their occurrence, mix the resin slowly without whipping air into it. Using a heat gun or a blowtorch after pouring can help eliminate bubbles; simply move the heat source over the surface to pop the trapped air. Additionally, pouring the resin from a height can create bubbles, so it’s best to pour directly from the mixing container into the mold.
5. Experimenting with Techniques: Don’t shy away from experimenting! Techniques like swirling or spreading with a palette knife can yield mesmerizing effects. Test your combinations on small batches before committing to larger projects. Just remember, practice makes perfect, and each attempt will improve your skills and creativity.
6. Safety Considerations: Given that resin crafting involves chemicals, maintaining safety should always be a priority. Aside from wearing protective gear, it’s crucial to work in a well-ventilated area. Consider setting up an outdoor workstation or using an air purifier to minimize exposure to fumes. Familiarize yourself with the Material Safety Data Sheet (MSDS) that comes with your resin purchase, as it provides essential information regarding safe handling and potential hazards.
By mastering these techniques and integrating them into your creative process, you will surely expand the boundaries of your resin crafting abilities. The satisfaction of creating a one-of-a-kind decorative piece from resin is immense, and with each project, your expertise will continue to grow. So, gather your materials, unleash your imagination, and let the world of resin crafting transform your creative vision into reality.
CHECK OUT: Click here to explore more
Conclusion: Unleash Your Creativity with Resin
In conclusion, working with resin opens up a captivating world of artistic possibilities for decorative craft projects. By following this comprehensive guide, you have equipped yourself with the essential knowledge and techniques to explore the dynamic realm of resin crafting. From understanding color addition to perfecting layering and addressing air bubbles, each element contributes to creating stunning pieces that reflect your unique vision.
Remember, the key to mastering resin skills lies in both experimentation and practice. The more you try different techniques—whether it’s incorporating embellishments or experimenting with swirling patterns—the more confident and innovative you will become. Don’t hesitate to push the limits of your creativity; sometimes, unexpected results lead to the most awe-inspiring creations.
Moreover, prioritizing safety is crucial in this artistic journey. Ensuring proper ventilation and using protective gear not only protects you but also guarantees that your crafting space is conducive to creating beautiful pieces. As you delve deeper into resin artistry, you’ll find endless inspiration from nature, architecture, and your surroundings, all waiting to be captured within the clear, glossy finish of resin.
As you embark on your crafting adventures, stay connected with the resin crafting community. Sharing ideas, seeking tips, and showcasing your work can enhance your learning experience and spark new creative ideas. With passion and persistence, your resin projects can transform into dazzling works of art that resonate with those who admire them.
Take the plunge, explore the limitless potential of resin, and transform your decorative craft projects into remarkable masterpieces. The world of resin is yours to discover—happy crafting!