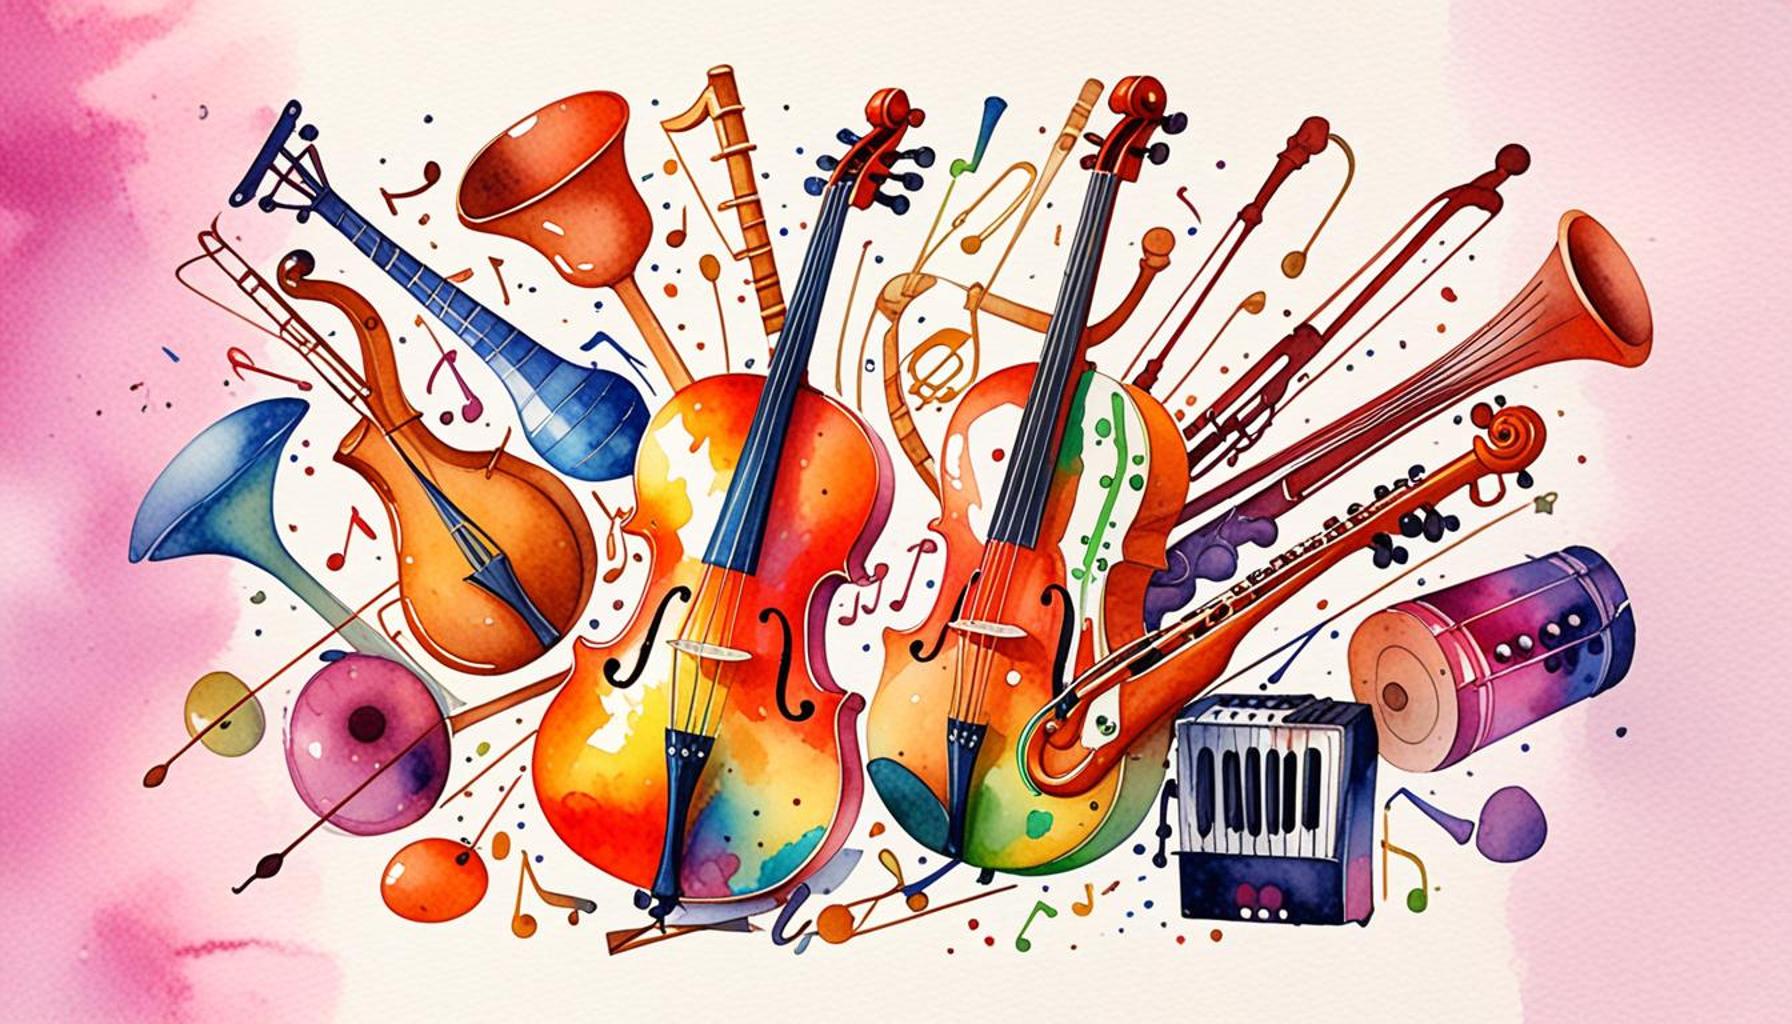
How to Record High-Quality Home Music A DIY Guide to Perfect Sound
The New Era of Music Production
In today’s digital age, the ability to create and record high-quality music at home is within reach for everyone. Gone are the days when you needed a professional studio and expensive equipment. With the right tools and techniques, you can produce fantastic sound without breaking the bank. This transformation has democratized music production, allowing anyone with passion and creativity to share their sound with the world.
Consider these essential elements that contribute to home music recording success:
- Microphone choice: Selecting the right microphone can dramatically influence your sound quality. For instance, a condenser microphone is excellent for capturing vocals due to its sensitivity, while dynamic microphones are robust and ideal for instruments or live performances. Brands like Shure and Audio-Technica offer affordable options that many home studios rely on.
- Acoustic treatment: Controlling sound reflections in your space will help in achieving clarity and richness. This can be as simple as adding foam panels to your walls to dampen echo or even using heavy curtains to absorb sound. For those looking for a budget-friendly option, thick rugs can also significantly reduce sound reflection, improving your recording environment.
- Software selection: Using Digital Audio Workstations (DAWs) tailored to your needs can streamline your recording process. Popular DAWs like Ableton Live, FL Studio, and GarageBand (for Mac users) offer user-friendly interfaces and a variety of features that can accommodate both beginners and experienced producers. Each DAW provides unique tools that can enhance creativity, such as virtual instruments, effects, and MIDI capabilities.
Recording music from home not only saves money but also offers unparalleled creative freedom. Imagine crafting and layering your songs at your own pace, making changes without the pressure of studio time constraints. Whether you’re an aspiring artist, a hobbyist, or a seasoned professional, exploring the ins and outs of recording at home is an adventure worth taking.
Moreover, sharing your work has never been easier. Platforms like SoundCloud and Bandcamp allow musicians to distribute their music to a global audience, while social media can be used to build a fanbase and garner feedback from listeners. This direct connection to your audience can be incredibly rewarding and motivating.
This DIY guide will provide you with practical tips and tricks to ensure your recordings shine through. By investing time in understanding the technology and techniques behind music production, you can elevate your skills and impress listeners with polished tracks that feel just as good as those recorded in high-end studios.
Let’s delve into the world of high-quality home music recording and discover how you can achieve that perfect sound!
CHECK OUT: Click here to explore more
Key Elements of High-Quality Home Music Recording
To embark on your journey towards creating high-quality music at home, it is crucial to grasp the fundamental components that contribute to an impressive recording. These key elements can elevate your sound and ultimately transform your music. Understanding how to harness these components not only helps in producing great tracks but also makes the recording process enjoyable and rewarding. Let’s explore the essential elements of achieving perfect sound in your home recordings.
1. Microphone Techniques
Your microphone choice plays a pivotal role in capturing the essence of your sound. Here are some key factors to consider:
- Microphone Type: As mentioned earlier, condenser microphones are excellent for vocals due to their wide frequency response, while dynamic microphones excel with instruments. Consider starting with a versatile microphone that suits multiple applications.
- Positioning: Where you place your microphone can dramatically affect your sound quality. Experiment with different angles and distances to find the sweet spot where your voice or instrument sounds best.
- Pop Filters: Utilizing pop filters can help minimize plosive sounds during vocal recordings. This simple addition to your setup can ensure your recordings are clearer and more polished.
2. Acoustic Treatment
The acoustics of your recording space can be a game-changer for sound quality. Here are some effective strategies:
- Soundproofing: Use thick curtains or double-pane windows to reduce outside noise. While soundproofing is beneficial, remember that it can be expensive; thus, focusing on acoustic treatment is a more cost-effective approach.
- Absorption Materials: Acoustic foam panels absorb excess sound, minimizing echo and enhancing clarity. You can also find DIY solutions, such as using egg cartons or carpets, while optimizing your budget.
- Layout: Arrange your recording setup to avoid reflective surfaces, such as windows and hard walls, that can bounce sound waves. Position your microphone away from these surfaces for better sound quality.
3. Choosing the Right Software
Your selected Digital Audio Workstation (DAW) is the backbone of your recording process. Here are some considerations when picking a DAW:
- User Interface: Look for a DAW that offers an intuitive interface. An easy-to-navigate layout allows you to focus on creativity instead of getting lost in complex features.
- Features: Check for built-in instruments, effects, and recording tools that suit your needs. While programs like Pro Tools are revered in the industry, software like Reaper or GarageBand provides excellent functionality for beginners.
- Expansion Capability: Ensure your DAW can accommodate third-party plugins and virtual instruments that allow you to diversify your sound without needing to switch software in the future.
By mastering these key elements, you’ll be well on your way to creating high-quality recordings that rival those produced in professional studios. The time you invest in learning about microphones, acoustic treatment, and software will reward you with polished tracks that showcase your musical talent. Stay tuned for the next segment of this guide, where we will delve deeper into aspects like recording techniques, mixing, and mastering to refine your home music production journey.
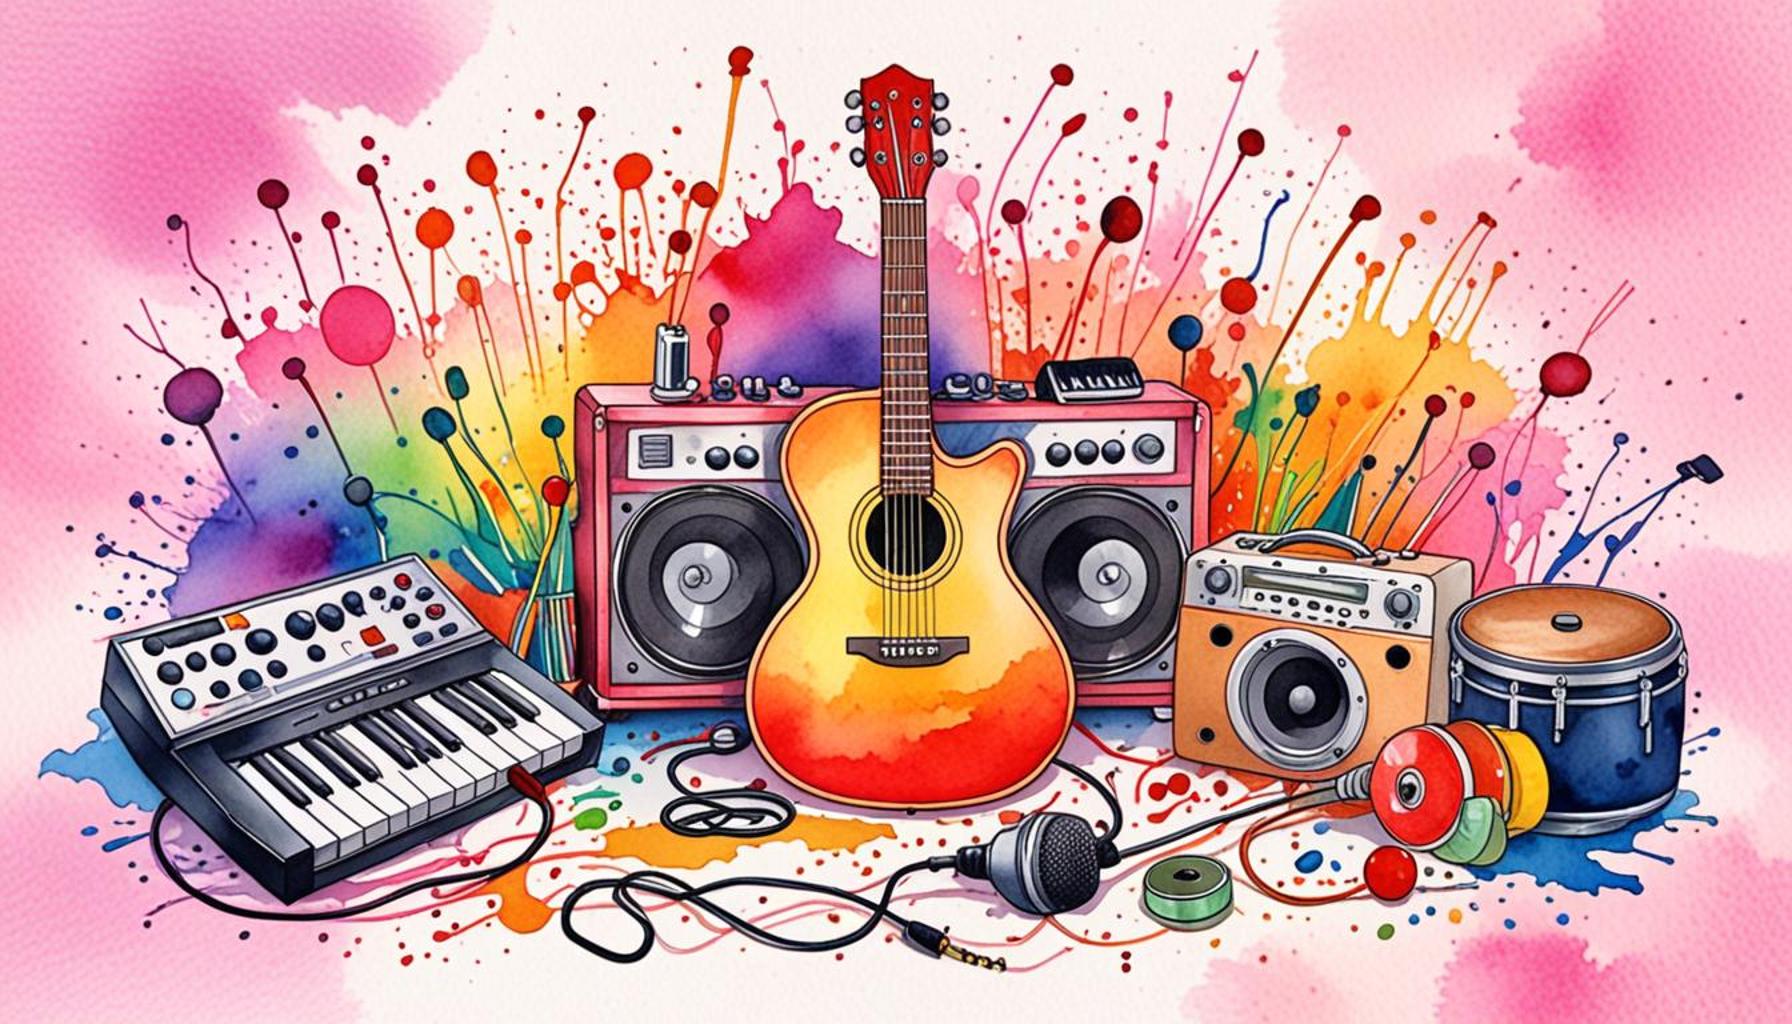
Understanding the Tools for Home Music Recording
When embarking on your journey to record high-quality home music, the selection of your recording tools is crucial. This section delves into essential equipment, techniques, and tips to ensure that your DIY music does not fall short of professional standards.
| Equipment | Advantages |
|---|---|
| Microphones | Choosing the right microphone is vital as it captures the nuances of vocals and instruments, providing clear sound quality. |
| Audio Interface | An audio interface converts your sound into digital format, ensuring high-quality recordings and lower latency while tracking your music. |
| DAW (Digital Audio Workstation) | A DAW is software that allows you to record, edit, and mix your music seamlessly, providing an extensive array of tools for creativity. |
| Studio Monitors | High-quality studio monitors allow for accurate sound reproduction, helping you make informed mixing decisions. |
Next, you will want to focus on the acoustic treatment of your recording space. This involves optimizing your environment to reduce echo and background noise, thus enhancing the clarity of your recordings. Utilizing soundproofing materials such as foam panels, bass traps, and diffusers can dramatically improve your sound quality. Ensure the recording environment is free from external disturbances, which can interfere with the fidelity of your recordings. Consider playing with microphone placement as well; placing your microphones closer to the sound source often yields a richer and more direct sound. Lastly, remember that practice is key. Always experiment with your setup and techniques to discover what works best for your style and equipment. As you embark on this sonic adventure, the journey of recording high-quality music will continue to teach you invaluable skills and techniques that lead to perfect sound.
SEE ALSO: Click here to read another article
Recording Techniques for Optimal Results
Now that you’ve established a solid foundation with the key elements of high-quality recording, it’s time to dive into specific recording techniques that can further enhance your sound. Mastering these practices is crucial for ensuring that your tracks resonate with clarity and depth, setting your music apart in a competitive landscape.
1. Tracking in Layers
One method to achieve a professional sound is through layering your tracks. This involves recording multiple takes of the same instrumental or vocal part and then blending them together during the mixing process. Here’s how to effectively implement this technique:
- Vocal Doubles: Record a second take of your vocals, either an octave higher or at a different intensity level. This creates richness and fullness in the vocal sound, making it more engaging for listeners.
- Instrumental Layers: Layer different instruments or sounds to build a complex texture. For example, combining an acoustic guitar with an electric one can enhance the depth of your arrangement.
- Pan Positioning: When layering, use panning to place different elements in various positions across the stereo field. This creates a more immersive listening experience, making your music feel fuller and more dynamic.
2. Using Effects and Processing
Effects and processing are powerful tools in your recording arsenal. They can dramatically shape the character of your sound. Here are some essential effects you might consider:
- Reverb: Adding reverb can create a sense of space and dimension in your recordings. It’s particularly useful for vocals and drums, giving them a more expansive feel. Experiment with different reverb settings to find the right ambiance for your genre.
- Compression: Compression helps to control the dynamic range of your audio. By reducing the volume of the loudest parts and boosting the quieter ones, you can achieve a more balanced track. Use it judiciously to avoid squashing the natural dynamics of your performance.
- EQ (Equalization): Fine-tuning the frequencies in your recordings is essential to ensure clarity. Use EQ to cut unwanted frequencies or boost others that enhance your track’s overall sound. This step is particularly important for creating separation between vocals and instruments.
3. Quality Monitoring
The final piece of the puzzle is monitoring your sound accurately. Your equipment and environment can significantly affect how you perceive your mixes. Here are some tips to achieve quality monitoring:
- Studio Monitors: Invest in a pair of studio monitors designed for accurate sound reproduction. Unlike regular speakers, studio monitors provide a flat frequency response, allowing you to hear your mix more objectively.
- Headphones: High-quality studio headphones are also essential, especially for fine-tuning details in your mix. They should provide clarity and comfort, enabling you to spend longer recording and editing sessions without fatigue.
- Room Calibration: Calibrate your monitoring setup by adjusting speaker placement and angle to create an optimal listening environment. This can help combat issues such as bass buildup or frequency cancellations that might lead to inaccurate mixes.
By employing these recording techniques, you will not only enhance your tracks but also elevate your overall music production skills. Experimentation and practice are key—don’t hesitate to take risks and try new approaches. As you continue to refine your process, you’ll discover your unique sound and style, making your home recordings truly stand out.
SEE ALSO: Click here to read another article
Conclusion: Crafting Your Sound Journey
In the rapidly evolving world of music production, the ability to create high-quality home recordings is more accessible than ever. By mastering the techniques discussed—from tracking in layers to utilizing effects wisely and maintaining quality monitoring—you can take significant strides towards achieving a professional sound right in your own space. Remember, the essence of music lies in creativity and expression; don’t shy away from experimenting with different methods and finding what resonates with your unique style.
As you embark on this DIY journey, understand that each element of your recording setup plays a crucial role in shaping your sound. Your instruments, environment, and recording techniques will intertwine to create a musical tapestry that reflects your artistic vision. Make it a point to continually educate yourself on new trends and technologies while also learning to refine your process for optimal results.
Finally, view every recording session as an opportunity to grow and evolve as both an artist and a producer. With dedication and practice, you’ll not only perfect your sound but also discover your own distinctive voice in the vast ocean of music. So, gather your tools, summon your creativity, and get ready to make your mark with high-quality home music recordings that captivate and inspire. The world is waiting to hear what you have to offer!