DIY Tips Craft Personalized Scented Candles with Unique Aromas
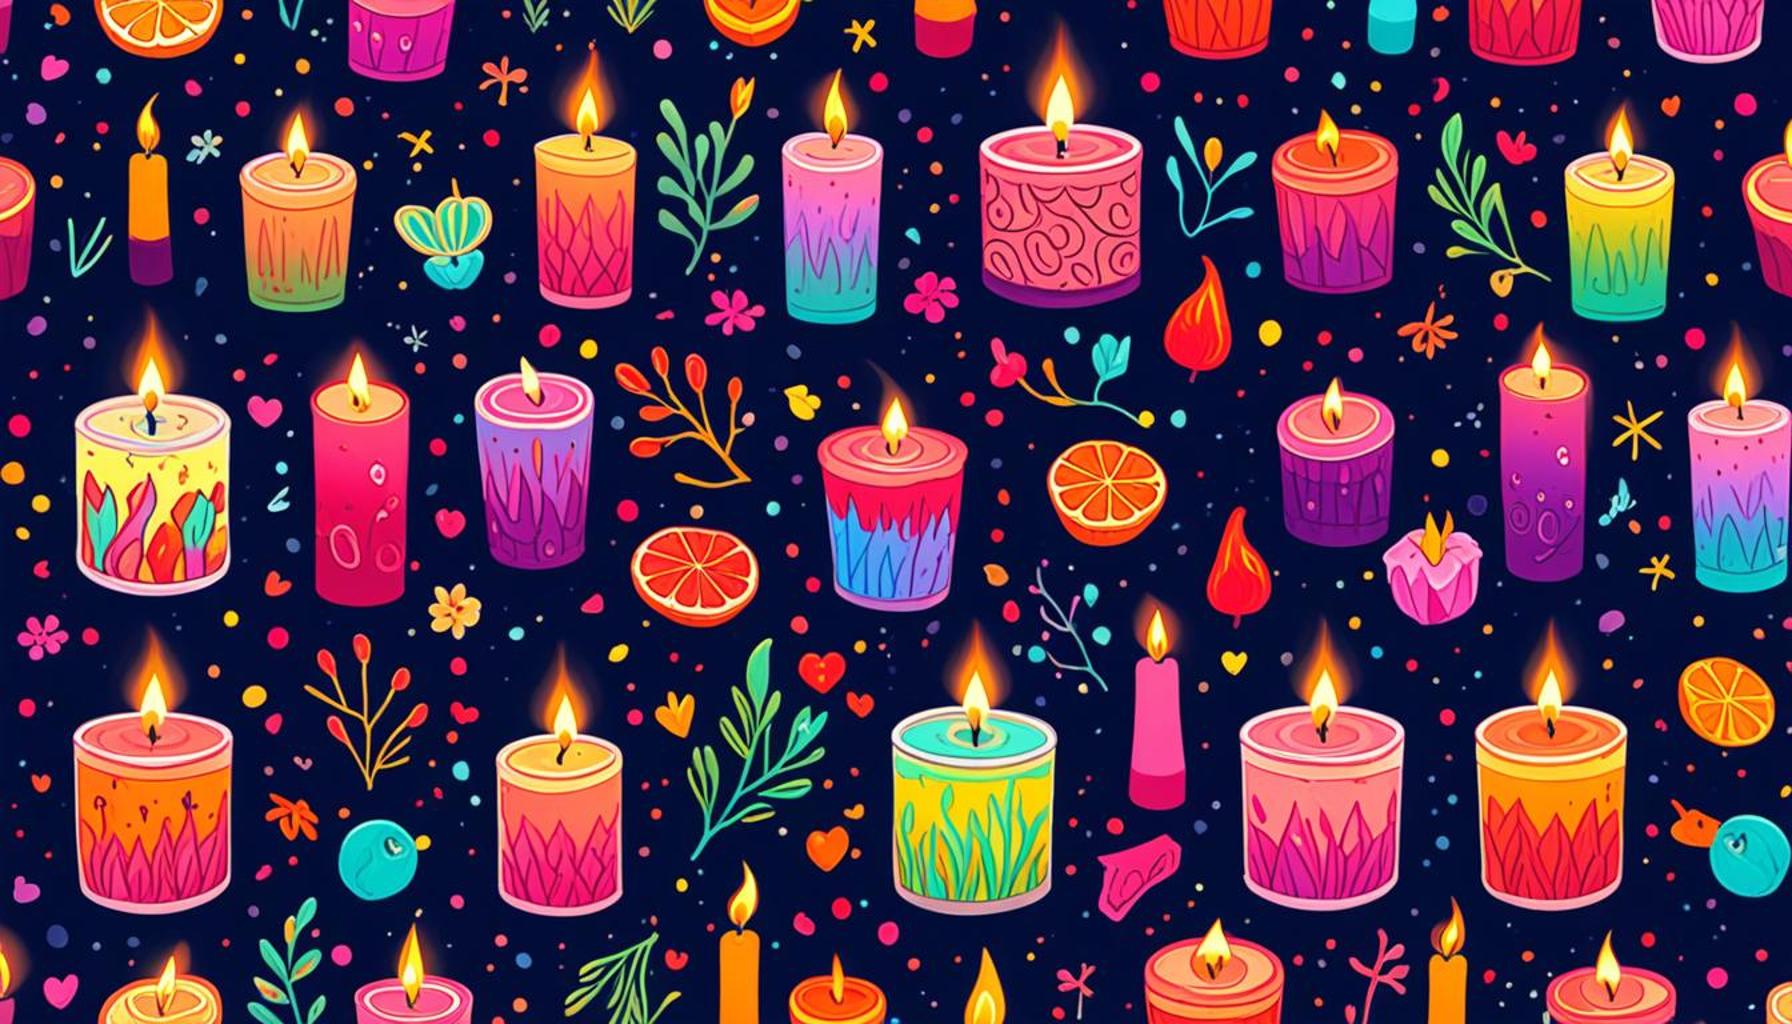
Unleash Your Creativity with DIY Scented Candles
Imagine walking into a room filled with the enchanting aroma of your favorite scent, crafted entirely by you. DIY personalized scented candles not only serve as delightful home decor but also make wonderful gifts for friends and family. With just a few supplies and a touch of creativity, you can create unique aromas that truly reflect your personality and style. The act of candle-making allows you to express yourself while also adding ambiance to your living space.
Why Choose Homemade Candles?
There are numerous benefits to crafting your own scented candles:
- Customization: You can tailor scents to match your mood, occasion, or the season. For instance, a refreshing citrus aroma can invigorate your summer gatherings, while a warm vanilla scent creates a cozy atmosphere during the winter holidays.
- Quality Control: By using natural ingredients, such as soy or beeswax, you avoid harmful chemicals often found in commercial candles. This means you and your loved ones can enjoy your creations with peace of mind.
- Cost-Effective: Crafting your candles can save you money while allowing you to produce high-quality products. Buying materials in bulk can further decrease costs, making this an economical hobby that yields beautiful results.
This rewarding craft not only provides an opportunity to experiment with delightful combinations of fragrances but also empowers you to bring a piece of your personality into your space. For example, imagine the inviting scent of fresh lavender soothing your stress after a long day, or zesty citrus brightening a dull morning. The possibilities are endless, and each candle can tell a unique story reflecting various aspects of your life.
Materials You’ll Need
Starting your candle-making adventure requires minimal supplies, making it accessible even for beginners:
- Candle Wax: Choose from soy, beeswax, or paraffin, depending on your preference for fragrance throw and burning time.
- Fragrance Oils or Essential Oils: These are crucial for infusing your candles with wonderful scents. Essential oils provide natural aromas, while fragrance oils offer a broader variety of scents, including seasonal favorites like pumpkin spice.
- Wicks: Ensure to select the correct wick size for your container to achieve a clean and even burn.
- Candle Containers: Get creative with containers ranging from mason jars and tin buckets to ornate glass holders. The container you choose can influence the overall look and feel of your candle.
Once you gather these basic materials, you’re ready to dive into the world of candle crafting. With a bit of experimentation, you can develop signature scents that can become the talk of your next gathering or thoughtful gifts for birthdays and holidays. Join us as we explore step-by-step tips to create your own personalized scented candles that will fill your home with unique and captivating aromas. Let the journey begin, and unleash your creativity today!
SEE ALSO: Click here to read another article
Essential Techniques for Crafting Your Unique Scented Candles
Once you’ve gathered all the necessary materials, it’s crucial to understand the techniques that will help you achieve the best results in your DIY scented candle crafting journey. Let’s delve into some essential techniques that make the process smooth, fun, and rewarding.
1. Melting the Wax
The first step in creating your own personalized candles involves melting the wax. Depending on the type of wax you choose, the melting temperature will vary. For instance, soy wax typically melts at around 120 to 180 degrees Fahrenheit, while beeswax has a higher melting point of approximately 145 to 155 degrees Fahrenheit. Utilizing a double boiler for melting is the safest method, as it prevents direct heat from potentially burning the wax. Stir the wax gently until fully melted, ensuring it reaches a liquid state.
2. Adding Fragrance
Once the wax has melted, it’s time to incorporate your chosen scent. The general rule of thumb is to add one ounce of fragrance oil per pound of wax for a robust aroma. However, this can be adjusted based on personal preference. Essential oils can also add a natural touch; however, they may not be as potent as synthetic fragrance oils. After adding your fragrance, stir the mixture thoroughly for 1-2 minutes to ensure an even distribution. This step is vital for those looking to create unique aromas that will stand out in any space.
3. Preparing the Wick
While your wax is melting and infused with scent, prepare your wick. Ensure that the wick is the appropriate size for your container. A wick that is too small will result in a weak flame and poor scent throw, while a wick that is too large may produce excessive soot and an uneven burn. Dip the base of the wick into the melted wax briefly, then secure it to the bottom of your container. This not only keeps the wick in place but also helps to anchor it, making it easier to pour the wax without displacing it.
4. Pouring the Wax
When the wax is ready and the wick is secured, it’s time for the exciting part—pouring the wax! Make sure that the temperature of the wax is appropriate for pouring; if you added fragrance at a higher temperature, let it cool slightly before this step. Slowly fill your container, leaving a small space at the top. This gap will allow for some wax expansion during the cooling process. Be careful to pour gently and steadily to avoid creating air bubbles, which can lead to imperfections in your finished candle.
5. Curing the Candle
After pouring, allow your candle to cool and solidify completely. This could take several hours depending on the size of your candle. Once hardened, trim the wick to about 1/4 inch above the wax surface. This length ensures a stable flame and optimal burning experience. Don’t forget to let your candle cure for about 48 hours before lighting it; this waiting period allows the fragrance to mature and develop fully, offering a more powerful aroma once ignited.
- Patience is Key: Allow your candles to cure properly for the best scent.
- Experiment: Mix different fragrance oils to discover your signature scents.
- Document Your Process: Take notes on your creations to perfect your recipes.
By mastering these foundational techniques, you’ll be well on your way to crafting stunning personalized scented candles that illuminate your home with unique aromas. Join us as we explore even more advanced tips and creative ideas to enhance your candle-making experience, taking your DIY journey to the next level!
Unleash Your Creativity with Personalized Aromas
Creating personalized scented candles allows for a unique expression of creativity. Candles are not just about light; they evoke emotions, memories, and create atmosphere. By choosing your own scents, you transform a simple object into a personal treasure. Imagine filling a cozy corner of your home with a customized aroma that resonates with your personal style.
Choosing the Right Ingredients
When crafting your personalized scented candles, selecting high-quality ingredients is crucial. Use natural wax such as soy or beeswax, which burns cleaner and is better for your health. Pair these with fragrance oils or essential oils that not only smell divine but may also offer aromatherapy benefits. For example, lavender promotes relaxation, while citrus scents can invigorate your space.
Unique Aromas and Blends
Experiment with different combinations to discover unique aromas! Mixing vanilla with sandalwood creates a warm, inviting scent, while a blend of peppermint and eucalyptus can energize your senses. The beauty of DIY scented candle crafting is in its flexibility. You can create seasonal blends, like pumpkin spice for autumn, or floral mixes for spring, making each candle a celebration of the moment.
| Category | Advantages |
|---|---|
| Custom Fragrance Selection | Allows tailoring scents to your mood or occasion, enhancing personal experience. |
| Creative Expression | Fosters creativity, enabling the creation of unique, memorable gifts for loved ones. |
Safety First
It’s essential to prioritize safety while crafting scented candles. Ensure you follow proper melting temperatures for your wax and use heat-resistant containers. Additionally, do not leave burning candles unattended. With a little vigilance, you can enjoy your aromatic creations safely.
Crafting Candles as Gifts
Handmade candles make fantastic presents! With a thoughtful scent and personalized labels, they convey an intimate touch that store-bought candles simply can’t match. Whether it’s for birthdays, holidays, or just because, your friends will cherish these unique gifts.
CHECK OUT: Click here to explore more
Enhancing Your Candle-Making Experience
With the fundamentals of crafting personalized scented candles in place, the next step is to explore ways to elevate your candle-making experience further. From incorporating creative techniques to selecting the right ingredients, the possibilities are endless!
6. Choosing the Right Containers
The selection of containers can significantly affect the overall aesthetic of your candles and the quality of aroma it disperses. Glass jars are popular due to their ability to withstand heat and showcase the beautiful colors of your wax. Repurposed mason jars add a rustic touch, appealing to the DIY ethos many crafters cherish. If you’re aiming for trendiness, consider using ceramic or metal tins that can add a modern flair to your décor. Don’t forget about safety—ensure your containers are heat-resistant to prevent cracking or breaking.
7. Experimenting with Colors
The visual element of scented candles is equally important. Adding color to your wax creates a captivating look that can suit your personal taste or home décor. You can use color chips, liquid dyes, or natural colorants like spices or plant extracts. Keep in mind that darker hues may affect scent throw; therefore, start small and test how the color affects the melting and burning process. Experimenting with colors can lead to unique gel-like candles that are enticing to both the eyes and nose.
8. Custom Blending Scents
Upon perfecting your base scent, consider diving into the art of custom scent blending. Mixing different fragrance oils can produce complex and rich aromas that tell a story of their own. For a summer-themed candle, blend refreshing scents like citrus with herbal notes to invoke a breezy afternoon or combine lavender with vanilla for a calming evening ambiance. Be mindful of the balance; too many fragrances can confuse the nose. Start with two or three complementary scents, then expand to discover your signature blends.
9. Adding Unique Elements
Take your candles beyond scent and color by incorporating unique elements. Dried flowers, herbs, or spices not only enhance the aesthetic appeal but can also infuse additional aromas as they burn. For example, adding sprigs of rosemary or slices of orange peel can create a multi-layered experience. Just remember to ensure that any materials added are suitable for burning, as some items can produce toxic fumes. Always perform thorough research on any additions you plan to include in your candles.
10. Creative Labeling and Presentation
Once you’ve crafted your personalized scented candles, the presentation plays a critical role, especially if you’re giving them as gifts. Consider designing custom labels that reflect the unique aromas and your branding if you’re looking to sell. Free online tools and apps make creating stunning label designs easy, and they allow you to specify the scent and ingredients, showcasing your effort and creativity. You might also explore embellishments such as twine, tags, or decorative lids for a polished, professional look.
- Think Outside the Box: Use unconventional containers like teacups or shells for a unique touch.
- Document & Share: Create an online portfolio of your creations or share on social media to inspire others.
- Join a Community: Connect with fellow candle makers for tips, tricks, and inspiration.
By incorporating these advanced techniques and enhancements, you’ll not only create candles that smell and look fantastic but also elevate your skills as a DIY candle maker. The journey ahead is filled with endless creativity, inviting you to explore and innovate your personalized scented candle creations.
SEE ALSO: Click here to read another article
Conclusion
As we have explored throughout this article, crafting personalized scented candles is an enchanting and fulfilling DIY journey that allows for boundless creativity and self-expression. By selecting the right containers, experimenting with colors, and blending unique scents, you can create candles that resonate with your personal style and illuminate your space with captivating aromas.
The addition of unique elements, such as dried flowers and herbs, enhances the sensory experience while ensuring each candle is truly one-of-a-kind. Furthermore, thoughtful presentation through creative labeling not only elevates the aesthetic appeal but also provides a perfect opportunity for gifting or even marketing your creations.
In addition to the practical aspects, engaging in candle-making fosters a sense of community. Joining forums or social media groups can introduce you to fellow enthusiasts, broaden your knowledge, and spark new ideas. Don’t hesitate to document your creations; you never know who you might inspire along the way.
Ultimately, the beauty of making personalized scented candles is in the ability to tailor every aspect to reflect your individuality. Whether you’re crafting for yourself, creating gifts for loved ones, or exploring a potential business venture, the methods and materials are merely the starting point. Embrace the joy of experimentation, and let your imagination guide you as you dive deeper into the world of candle-making. The only limit is your creativity, so light the wick and let your unique aromas shine!